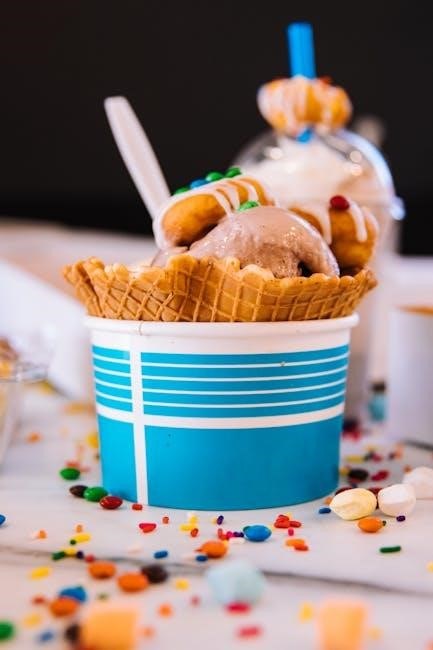
Ice cream balls offer a fun, interactive way to create frozen treats, blending science with a playful activity for all ages!
The process utilizes a super-cooled environment, achieved by combining ice and salt, to effectively freeze the ice cream mixture within․
Consistent rolling or shaking is key, ensuring even cold distribution and accelerating the freezing process for a delightful homemade dessert․
What is an Ice Cream Ball?
Ice cream balls are innovative devices designed for making ice cream without the need for an electric ice cream maker! They typically consist of two chambers: an inner container for the ice cream mixture and an outer shell to hold ice and salt․
These playful gadgets transform the ice cream-making process into an engaging, hands-on experience, perfect for families and gatherings․ The magic happens as you roll or shake the ball, initiating the churning process․
Port Discovery Childrens Museum highlights that the combination of ice and salt creates a super-cooled environment, crucial for freezing the mixture․ It’s a portable, self-contained system, allowing you to enjoy fresh ice cream virtually anywhere, making it a unique and entertaining dessert option!
The Science Behind the Freeze
The freezing process within an ice cream ball relies on a fundamental scientific principle: the lowering of water’s freezing point․ Adding salt to ice disrupts the water molecules’ ability to form a solid, causing the temperature to drop significantly below 0°C (32°F)․
This super-cooled environment is what effectively freezes the ice cream mixture․ As you roll or shake the ball, you’re not just churning the ingredients; you’re also ensuring even distribution of this intense cold․
Port Discovery Childrens Museum explains this beautifully – the constant motion helps the cold permeate the mixture, accelerating the freezing process․ The energy from the shaking aids in crystallization, resulting in a smooth and creamy texture․ It’s a delightful demonstration of thermodynamics in action!
Materials Needed for Ice Cream Ball Creation
Creating ice cream with a ball requires a kit, ingredients for the mixture, rock salt for lowering the freezing point, and towels for handling!
Gathering these components ensures a smooth and successful, hands-on ice cream making experience for everyone involved․
Ice Cream Ball Kit Components
A typical ice cream ball kit generally includes two main chambers: an inner canister for holding the ice cream mixture and an outer shell to contain the ice and salt․
The inner canister often features a secure lid to prevent leakage during the vigorous shaking and rolling process․ The outer shell is usually made of durable plastic, designed to withstand repeated impacts and maintain a consistent temperature․
Many kits also include measuring scoops or cups to help accurately portion the ice cream ingredients․ Some advanced kits may even have built-in thermometers to monitor the freezing process․ Essential for success is a well-sealing design, ensuring the cold remains contained and the ice cream freezes efficiently․
Finally, a robust construction is vital for repeated use and enjoyment!
Ingredients for the Ice Cream Mixture
Creating the perfect ice cream mixture is surprisingly simple! The base typically consists of heavy cream, providing richness and a smooth texture․ Whole milk is often added to balance the creaminess and adjust the consistency․
Sugar, of course, is essential for sweetness, with granulated sugar being the most common choice․ A pinch of salt enhances the flavors and balances the sweetness․ For classic vanilla, vanilla extract is key, but the possibilities are endless!
Feel free to experiment with other flavorings like cocoa powder for chocolate, or pureed fruit for fruity variations․ Remember to properly measure ingredients for optimal results, ensuring a delightful frozen treat every time!
Essential Extras: Rock Salt & Towels
Beyond the core ingredients, two seemingly simple items are crucial for ice cream ball success: rock salt and absorbent towels․ Rock salt isn’t for flavor; it dramatically lowers the freezing point of water, creating the super-cold environment needed to freeze the ice cream mixture․
Coarse rock salt is preferred over table salt due to its larger crystals and slower dissolution rate․ Towels are equally important – expect condensation! They’re vital for wiping down the exterior of the ball during shaking, preventing slippery hands and maintaining a good grip․
Have several towels handy to manage moisture and ensure a comfortable, safe ice cream-making experience․ These extras truly elevate the process!
Step-by-Step Instructions: Making Your Ice Cream
Begin by preparing your ice cream mixture, then assemble the ball with ice and salt․ Shake vigorously for ten minutes, scrape sides, and continue churning!
Step 1: Preparing the Ice Cream Mixture
The foundation of delicious ice cream begins with a well-prepared mixture! Carefully add your chosen ingredients – cream, milk, sugar, and any desired flavorings – directly into the ice cream mixing chamber of your ball․
Ensure the mixture doesn’t exceed the maximum fill line indicated on the chamber; leaving some space is crucial for expansion during the freezing process․ Seal the chamber tightly, making sure the lid is securely fastened to prevent any leaks during the vigorous shaking and rolling that’s about to happen․
A properly sealed chamber guarantees a smooth, enjoyable ice cream-making experience, and prevents salty water from contaminating your sweet treat․ Now you’re ready to move on to assembling the ice cream ball!
Step 2: Assembling the Ice Cream Ball
With the ice cream mixture safely contained, it’s time to assemble the ice cream ball for its chilly transformation! Begin by filling the outer shell of the ball with a generous layer of ice․ Don’t skimp – the ice is the primary cooling agent!
Next, and this is vital, add a substantial amount of rock salt on top of the ice․ The salt lowers the freezing point of the ice, creating a super-cooled environment essential for freezing the mixture․ Ensure the ice and salt surround the inner chamber completely․
Finally, securely seal the outer shell onto the inner chamber․ Double-check that everything is tightly connected to prevent leaks and maximize the cooling effect․ Your ice cream ball is now ready for action!
Step 3: The Initial Shake & Roll (First 10 Minutes)
Now for the fun part! Begin shaking and rolling the ice cream ball vigorously for the first ten minutes․ This initial period is crucial for kickstarting the freezing process and ensuring the mixture starts to solidify․
Pass the ball around amongst friends or family – make it a collaborative effort! Tell stories, sing songs, or simply enjoy the playful activity while providing the necessary motion․ Consistent movement is key to evenly distribute the cold and prevent ice crystal formation․
Remember, the more you shake and roll, the faster the ice cream will freeze․ Keep it up for a full ten minutes before moving on to the next step!
Step 4: Scraping the Sides
After the initial ten minutes of shaking and rolling, it’s time to scrape the sides of the inner chamber․ As the mixture freezes, ice cream will begin to build up along the walls, hindering efficient churning․
Carefully open the ball and use a spatula or spoon to scrape down any frozen clumps․ This ensures all the liquid mixture comes into contact with the cold surface, promoting even freezing and a smoother texture․
Don’t skip this step! It’s vital for achieving the perfect consistency․ Reassemble the ball securely after scraping, preparing for the continued rolling and churning process․
Step 5: Continued Rolling & Churning
Following the scraping of the sides, resume the rolling and shaking process․ Continue for approximately 10-20 minutes, depending on the ambient temperature and your desired ice cream consistency․
This continued motion is crucial for fully churning the mixture and creating a creamy texture․ Feel free to make it a game – pass the ball around, tell stories, or sing songs to keep the energy up!
Periodically check the consistency; it should thicken noticeably․ Once it reaches your preferred firmness, the ice cream is ready to enjoy․ Remember, consistent movement is key to a perfect result!
Troubleshooting Common Issues
If freezing fails, adjust the salt-to-ice ratio or ensure sufficient shaking․ Leaks often indicate improper sealing; check the ball’s components carefully․
Ice Cream Not Freezing?
Experiencing a frustrating lack of freezing action with your ice cream ball? Don’t despair! Several factors could be at play․ First, verify the ice-to-salt ratio․ Insufficient salt hinders the creation of a sufficiently cold environment․ A good starting point is roughly 1/4 to 1/2 cup of rock salt per quart of ice, but experimentation may be needed․
Secondly, ensure vigorous and consistent movement․ The shaking or rolling action is crucial for evenly distributing the cold and initiating the freezing process․ Intermittent or gentle movement won’t suffice․ Aim for continuous motion for at least 20 minutes․
Finally, check the ambient temperature․ Extremely warm weather can counteract the cooling effect․ Consider starting with very cold ingredients and keeping the ball shaded during use․ If issues persist, double-check the seal of the inner chamber to prevent heat transfer․
Salt to Ice Ratio – Finding the Sweet Spot
Achieving the perfect ice cream consistency hinges on mastering the salt-to-ice ratio․ Salt lowers the freezing point of water, creating a significantly colder environment than ice alone․ However, too little salt won’t generate sufficient cold, while excessive salt can hinder the freezing process․
A commonly recommended starting point is approximately one-quarter to one-half cup of rock salt per quart of ice․ Begin with this ratio and observe the results․ If the mixture isn’t freezing adequately, incrementally increase the salt amount․ Conversely, if the ice cream freezes too quickly and becomes grainy, reduce the salt․
Remember, experimentation is key! Factors like ambient temperature and the size of your ice cream ball can influence the ideal ratio․
Ball Leaking?
Discovering leaks during your ice cream ball adventure can be frustrating, but often easily resolved․ The most common cause is improper sealing of the two hemispheres․ Ensure a firm, even connection, applying gentle pressure until you hear a distinct click or feel a secure lock․
Check the rubber gasket or O-ring for damage or displacement․ A compromised gasket won’t create a watertight seal․ If damaged, replacement is necessary․ Also, avoid overfilling the inner chamber; leaving some headspace prevents pressure buildup and potential leaks․
Finally, ensure the ball isn’t subjected to extreme impacts during shaking or rolling, as this can compromise the seal․

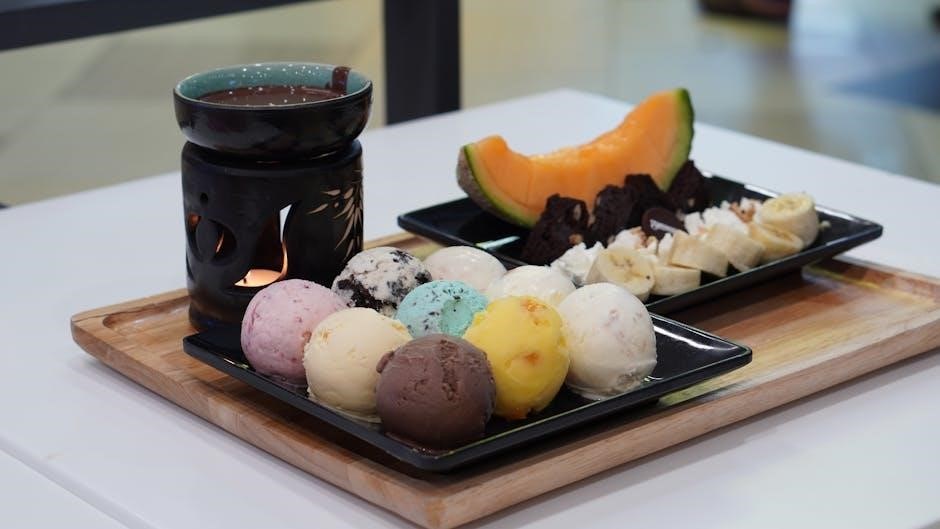
Flavor Variations & Recipes
Unleash your creativity! Beyond classic vanilla, explore chocolate, or fruity options by simply adjusting the ice cream mixture ingredients․
Experiment with extracts, fruits, and mix-ins for personalized, delicious frozen treats․
Classic Vanilla Ice Cream
For a timeless treat, begin with 2 cups of heavy cream, 1 cup of whole milk, and ¾ cup of granulated sugar․ Add 1 tablespoon of vanilla extract for that signature flavor․ Whisk these ingredients thoroughly in a bowl until the sugar is completely dissolved, creating a smooth and creamy base․
Pour this mixture into the ice cream ball’s inner chamber, ensuring it doesn’t exceed the fill line․ Remember, the magic happens with movement! Shake, roll, and pass the ball around for approximately 20-30 minutes․
Periodically, as instructed, scrape down any ice cream buildup from the sides of the inner chamber to ensure even freezing․ Continue the churning process until you achieve a delightfully smooth and frozen vanilla ice cream․ Enjoy this simple, yet satisfying, classic!
Chocolate Delight
Indulge in richness with this chocolate recipe! Combine 2 cups of heavy cream, 1 cup of whole milk, ¾ cup of granulated sugar, and ½ cup of unsweetened cocoa powder․ For an extra layer of chocolate intensity, melt 2 ounces of dark chocolate and stir it into the mixture․ A dash of vanilla extract – about 1 tablespoon – enhances the flavor profile․
Carefully pour this decadent chocolate blend into the ice cream ball’s inner chamber․ The fun begins with vigorous shaking and rolling for around 20-25 minutes․
Don’t forget to pause and scrape the sides periodically to maintain consistent freezing․ Continue churning until you reach a creamy, chocolatey perfection․ This delightful treat is sure to satisfy any sweet craving!
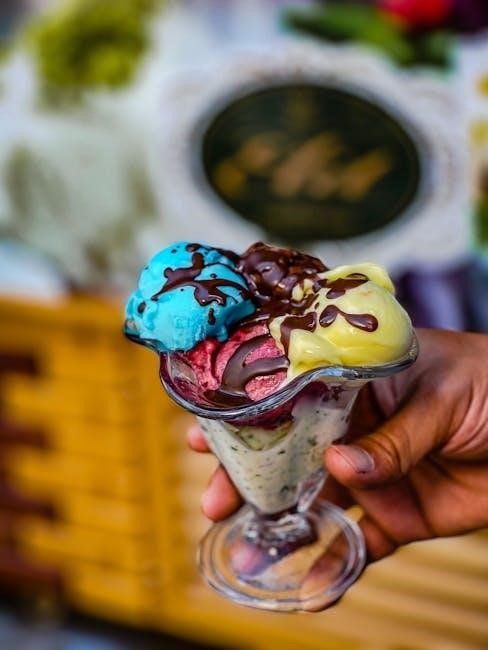
Fruity Ice Cream Options
Embrace freshness with vibrant fruity flavors! Begin with a base of 2 cups heavy cream, 1 cup whole milk, and ¾ cup sugar․ Puree 1 ½ cups of your favorite fruit – strawberries, raspberries, mangoes, or peaches work wonderfully – and incorporate it into the cream mixture․ A squeeze of lemon juice brightens the flavors․
Pour the fruity concoction into the ice cream ball’s inner chamber․ The rolling and shaking process, lasting approximately 20 minutes, is where the magic happens․
Remember to scrape down the sides during intervals to ensure even freezing․ Continue until a smooth, refreshing, and naturally sweet ice cream is achieved․ Enjoy a burst of summer in every bite!

Safety Considerations
Handle rock salt with care, avoiding contact with eyes and skin․ Protect hands from prolonged exposure to the extremely cold temperatures during the churning process․
Handling Rock Salt
Rock salt, or sodium chloride, is crucial for lowering the freezing point of ice, creating the necessary cold environment for ice cream making․ However, it requires careful handling due to its potential irritant properties․
Always avoid direct contact with skin and especially eyes․ If contact occurs, immediately flush the affected area with plenty of water for at least 15 minutes and seek medical attention if irritation persists․
When measuring and adding rock salt to the ice cream ball, consider wearing gloves to minimize skin exposure․ Store rock salt in a tightly sealed container, out of reach of children and pets, in a cool, dry place to prevent clumping and maintain its effectiveness․
Be mindful of spills and clean them up promptly to avoid slips or potential damage to surfaces․
Temperature Control & Hand Protection
Maintaining appropriate temperatures is vital for a successful ice cream ball experience․ The extreme cold generated by the ice and salt mixture can be uncomfortable, and even pose a risk of frostbite with prolonged direct contact․
Consider using gloves or wrapping a towel around the ice cream ball during the rolling and shaking process, especially for younger children․ This provides a protective barrier against the cold surface․
Monitor the exterior of the ball; if it becomes excessively cold to the touch, take breaks and allow your hands to warm up․
Avoid prolonged direct skin contact with the ice and salt mixture itself․ Proper hand protection ensures a comfortable and safe ice cream making adventure for everyone involved!

Cleaning and Storage
Disassemble the ice cream ball after each use, thoroughly rinsing all components with warm, soapy water to remove residue․
Ensure complete drying before storing to prevent mold, and keep it in a cool, dry place for longevity․
Disassembling the Ice Cream Ball
Carefully separate the outer shell from the inner canister after your ice cream-making adventure is complete․ Most ice cream ball kits feature a simple twist-and-pull mechanism for easy detachment․
Begin by ensuring the ball is stable and won’t slip during disassembly․ Gently twist the two halves in opposite directions, following the manufacturer’s specific instructions – these can often be found in the original packaging or online․
Once separated, remove the mixing chamber from within the outer shell․ Pay attention to any seals or gaskets; these should be removed for individual cleaning․ Inspect all parts for any remaining ice cream residue or salt crystals before proceeding to the cleaning stage․ Proper disassembly is crucial for thorough cleaning and prevents damage to the ball․
Proper Cleaning Procedures

Thorough cleaning is essential after each use to maintain hygiene and prolong the life of your ice cream ball․ Start by rinsing all disassembled parts – the outer shell, inner canister, mixing chamber, and any seals – with warm water․
Use a mild dish soap and a non-abrasive sponge to gently scrub away any remaining ice cream residue or salt․ Avoid harsh chemicals or scouring pads, as these can damage the plastic․ Pay close attention to crevices and seals, ensuring all traces of ingredients are removed․
Rinse all components thoroughly with clean water and allow them to air dry completely before reassembling and storing․ This prevents mold growth and ensures optimal performance for your next ice cream-making session․
Long-Term Storage Tips
Proper storage is crucial when your ice cream ball isn’t in use, preserving its functionality for years to come․ Ensure all parts are completely dry before storing to prevent mildew or unpleasant odors․ Disassemble the ball fully and store each component separately in a cool, dry place, away from direct sunlight․
Avoid storing the ball in extreme temperatures, as this can warp the plastic․ A kitchen cabinet or pantry is ideal․ Periodically check the seals for any signs of wear and tear, replacing them if necessary․
Consider lightly coating the inner canister with food-grade mineral oil to prevent sticking and maintain its smooth surface․